Benefits of DIY Manicure at Home
Doing your own manicure at home with these manicure tips and steps at home not only saves money, but also gives you control over nail care and the products you use. For example, you can pick polishes that are gentle on your nails, clean your tools well, and make time for yourself at your own pace. DIY manicures help avoid crowded salons and allow you to try new colors and styles whenever you want. Plus, practicing at home builds your skills and boosts your confidence. This approach makes nail care fun and rewarding while using nail polish, files, and buffers for great results.
Top Reasons to Try At-Home Manicures
- Save money compared to salons
- Flexible timing for your schedule
- Choose safe, gentle products
- Practice creativity and self-care
- Avoid salon chemicals and crowds
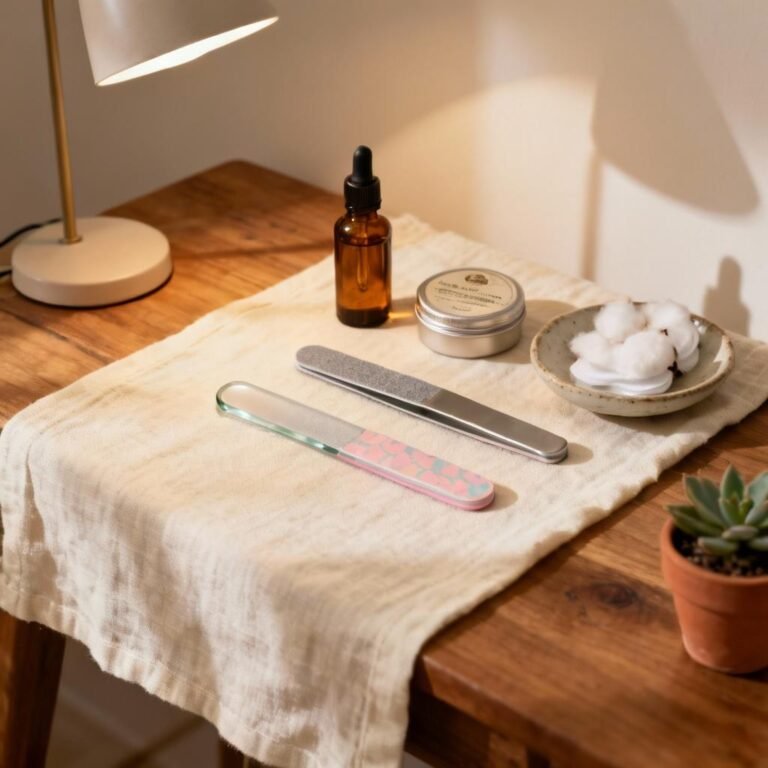
Nail Prep: Cleaning, Clipping, and Filing
Start by washing your hands and removing old polish with a non-drying remover. Next, gently clip your nails to the desired length, following the shape you want. Filing comes after—use a fine nail file to shape the edges and smooth any rough spots. Always file in one direction to stop splitting. Cleaning, clipping, and filing give your nails a fresh base and help the polish go on neatly. These manicure tips help prevent brittle nails and set you up for a smooth finish.
Pro Tips for Perfect Nails
- Always start with clean nails
- File gently in one direction
- Moisturize cuticles daily
- Let each polish coat dry completely
Cuticle Care: Safe and Gentle Methods
Cuticles need careful attention for a clean and healthy look. Soak your fingertips in warm water to soften the skin, making it easier to gently push back your cuticles with a wooden or rubber pusher. Avoid cutting your cuticles; cutting can lead to painful infections and slower nail growth. Instead, apply a little cuticle oil to keep the skin soft. If you see dry bits, use a soft brush—not sharp scissors—to clean the area. Healthy cuticles keep nails strong and protect them from germs and damage.
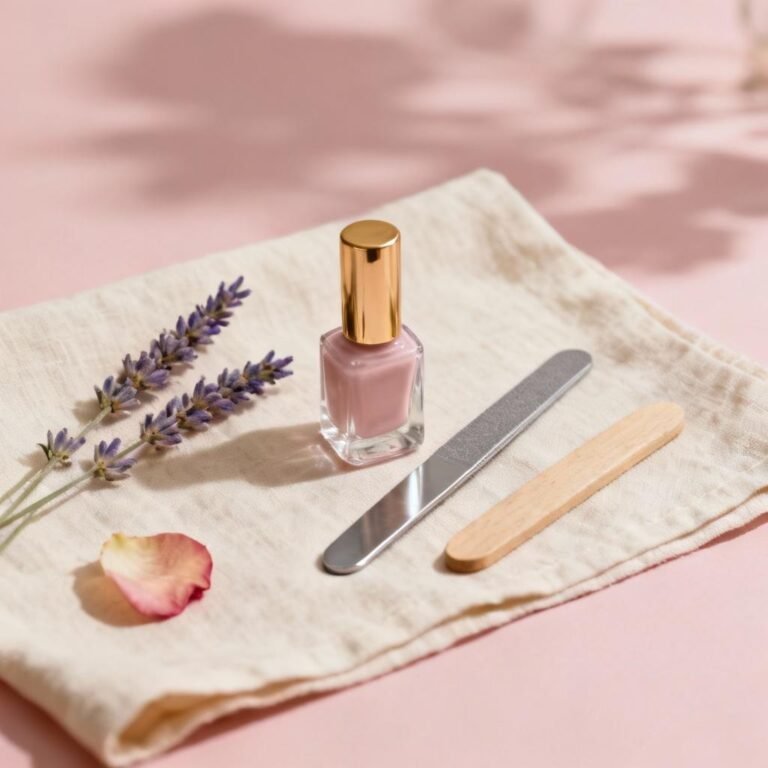
Choosing the Right Nail Shape for You
Picking your nail shape is a big step in the manicure process. Popular styles like oval, almond, or round suit most hands and make nails appear longer and graceful. Square nails look neat but can catch on things, while coffin shapes add drama for special occasions. Think about your natural nail type and daily activities. Active people might prefer shorter, rounded shapes for less breakage, while bolder shapes suit those who love stylish nails. Use these manicure tips to match the shape to your lifestyle and make your nails look their best.
Strong nails need gentle care—never cut your cuticles, only push them back.
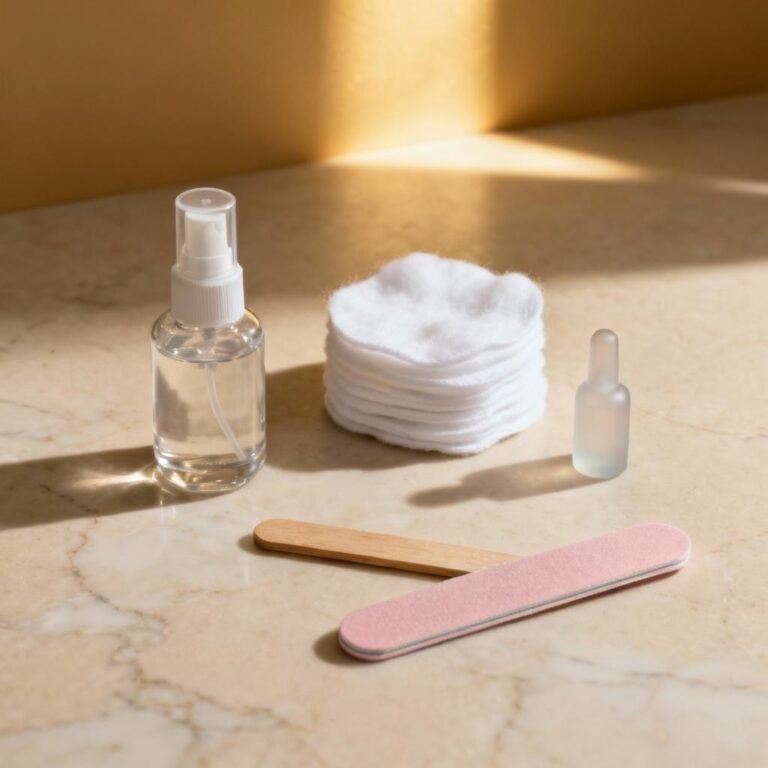
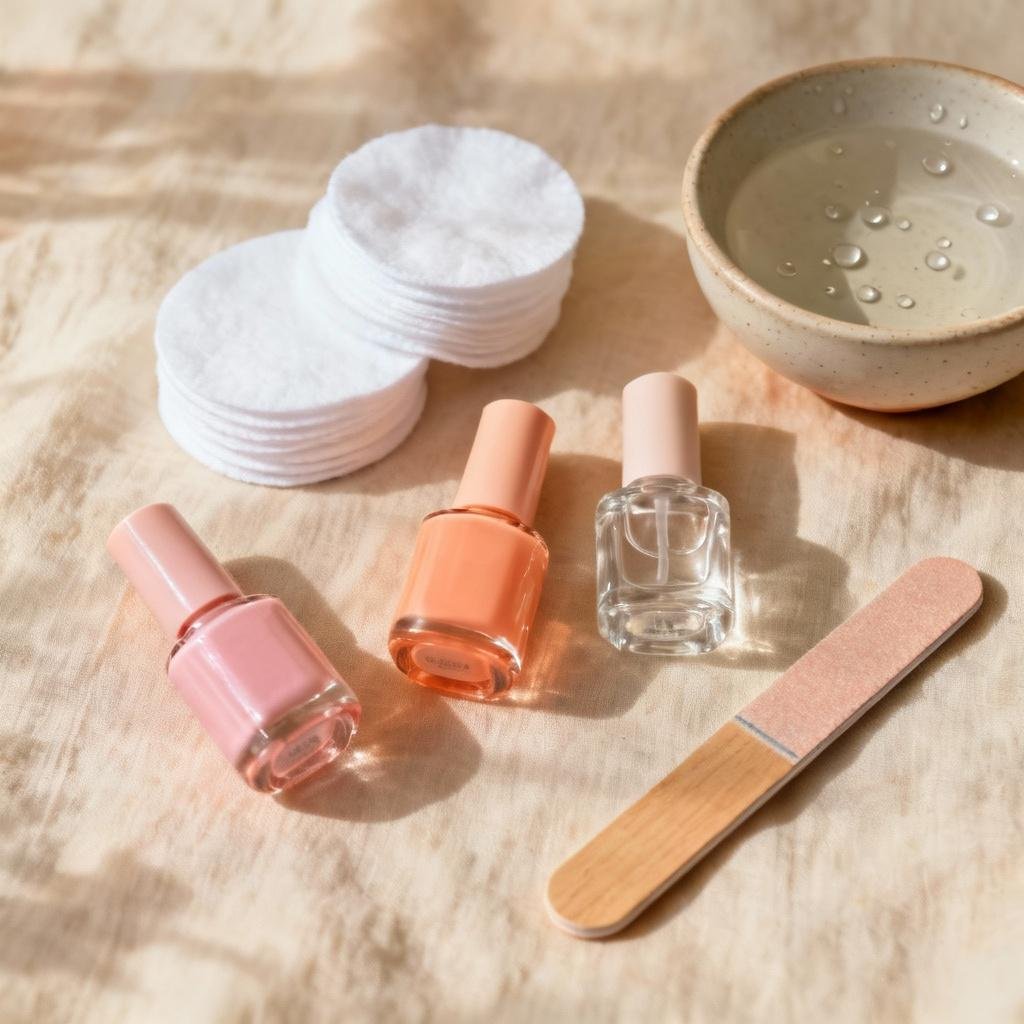
Step-by-Step Manicure Process Made Easy
Begin by soaking your nails in warm, soapy water for a few minutes to soften both nails and skin. Then, remove any leftover polish and gently push back the cuticles. Shape your nails using a file, following your chosen nail style. Lightly buff the surface to remove ridges. Next, use a base coat to protect your nails and provide a good surface for polish. Apply two thin layers of colored polish, letting each one dry before adding the next. Finish with a protective top coat for shine and long-lasting color. Clean away smudges from the skin with a small, soft brush. With these steps, your manicure will look professional and stay beautiful longer.