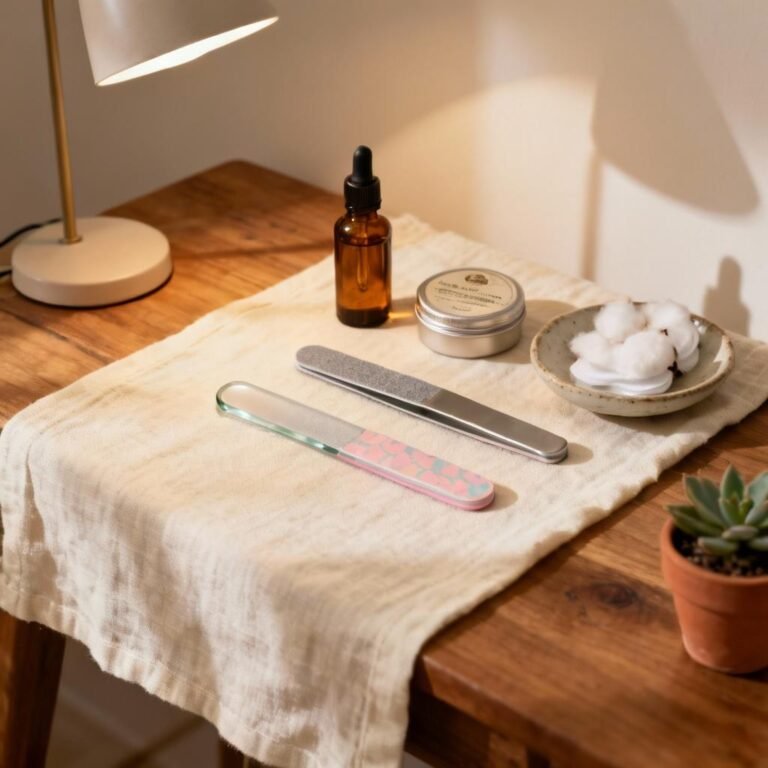
What At-Home Gel Nail Kits Offer
At-home gel nail kits are perfect if you want great nails without a trip to the salon. These kits usually include things like colorful gel polish, a special lamp to dry your nails fast, and all the tools for shaping and cleaning. You simply follow some basic steps: push back your cuticles, file your nails, use a base coat, add polish, and finish with a top coat. The lamp cures each layer so your nails look bright and last much longer than regular polish. Many kits are made for beginners, so you don’t have to be a pro to get started. You can save money, have fun trying new colors, and enjoy the pride of doing it yourself. Some people even use these kits as a way to get creative with friends at home!
Why Choose Gel Nail Kits?
- Get shiny, strong nails that last weeks
- Save money and time
- Try lots of colors at home
- Perfect for beginners wanting easy steps
How to Pick the Best Gel Nail Kit
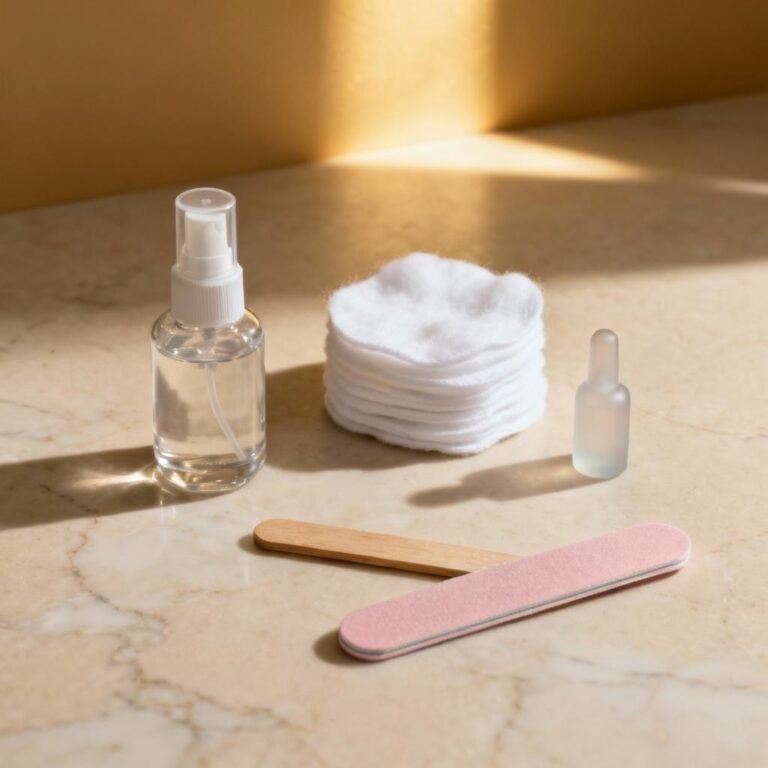
Picking the right gel nail kit can feel confusing, but a few simple things help you choose. First, look at the lamp in the kit. LED lamps work fast and are gentle on your nails, while some kits use older UV lamps. Next, think about the polishes. Some kits have non-toxic or cruelty-free options, which are safer and kinder to your skin and the world. Check if the kit has all the tools you need: a nail file, cuticle pusher, and remover solution. Also, compare prices and see which kit fits your budget. Lastly, read real reviews from people who tried these kits—many love strong polish, easy steps, and fun colors. For trusted picks, see Byrdie’s guide to the best at-home gel kits.
Pro Tips
- Prep nails by washing and drying well
- Apply thin polish layers for best results
- Cure each layer fully under the lamp
- Use gentle remover when it's time for change
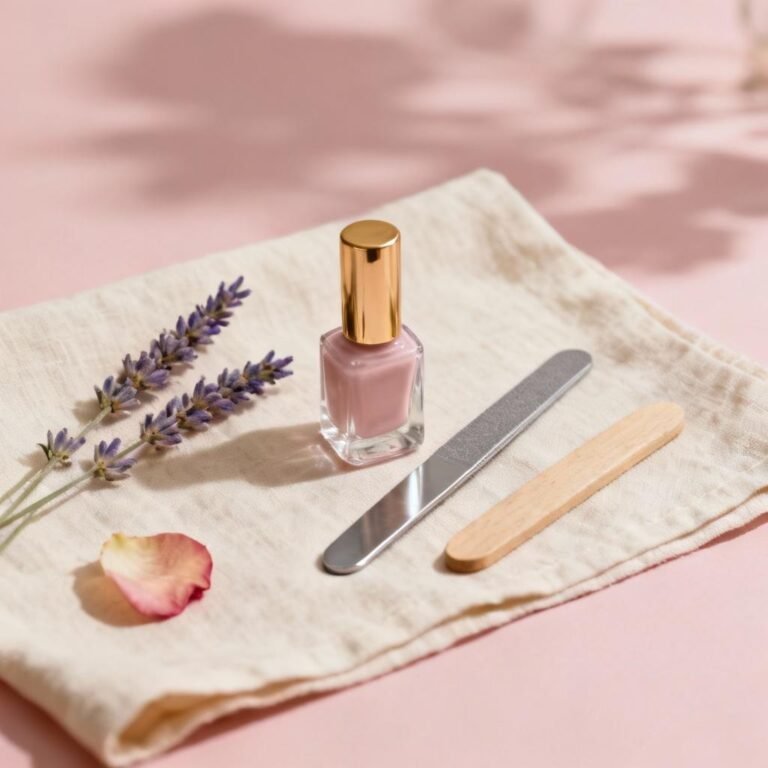
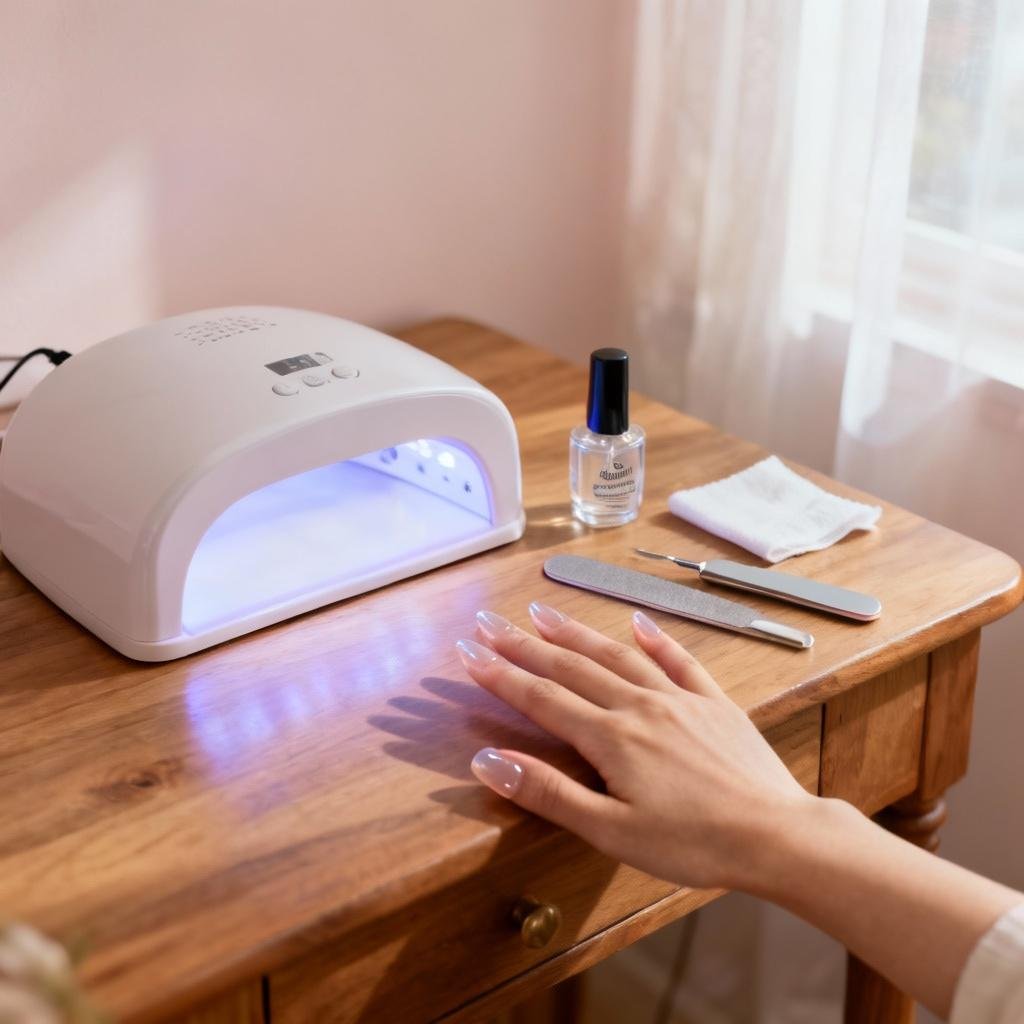
Step-by-Step Gel Nail Application
Start with clean, dry hands and push your cuticles back gently. File your nails to your favorite shape. Next, use a thin layer of base coat and cure it under your LED or UV lamp. Once dry, add a thin coat of colored gel polish and cure again. Repeat for a second coat if you want the color brighter. Finish with a shiny top coat and do your final cure. If the surface feels sticky, use the wipe from your kit to clean it. If you want video help for each stage, check step-by-step tutorials by Health Starts in the Kitchen. To remove, gently soak nails and never peel polish off. These simple steps ensure your gel nails look smooth, neat, and feel strong.
Fixing and Preventing Common Gel Nail Problems
Sometimes gel nails chip, bubble, or lift sooner than you expect. To stop this, make sure nails are clean and dry before you start. Always use thin polish layers and cure each one completely. If your polish bubbles, you might be applying too thick. If nails lift or chip, make sure you prep your nail well and seal the edges with each coat. Some people have skin that is sensitive and might get itchy or red after using gel; if this happens, try hypoallergenic or gentle formulas. If any problem appears, gently remove the polish, let your nails rest, and ask for help from a grown-up or a nail expert.
The best nails start with careful prep and thin layers—never rush for perfect, shiny gel manicures!
Nail Care After Your Gel Manicure
Healthy nails are happy nails! After enjoying your gel manicure, use a nourishing nail oil or hand cream every day. This keeps your nails and skin soft. When you want to change your color, use a gentle remover and never peel polish off, as this can damage nails. Let your nails have a short break from gels every few weeks to stay strong. Watch for signs like thin, sore, or peeling nails—these mean it’s time to give your nails extra care. With good habits, your natural nails will stay beautiful while you enjoy your next at-home gel look.